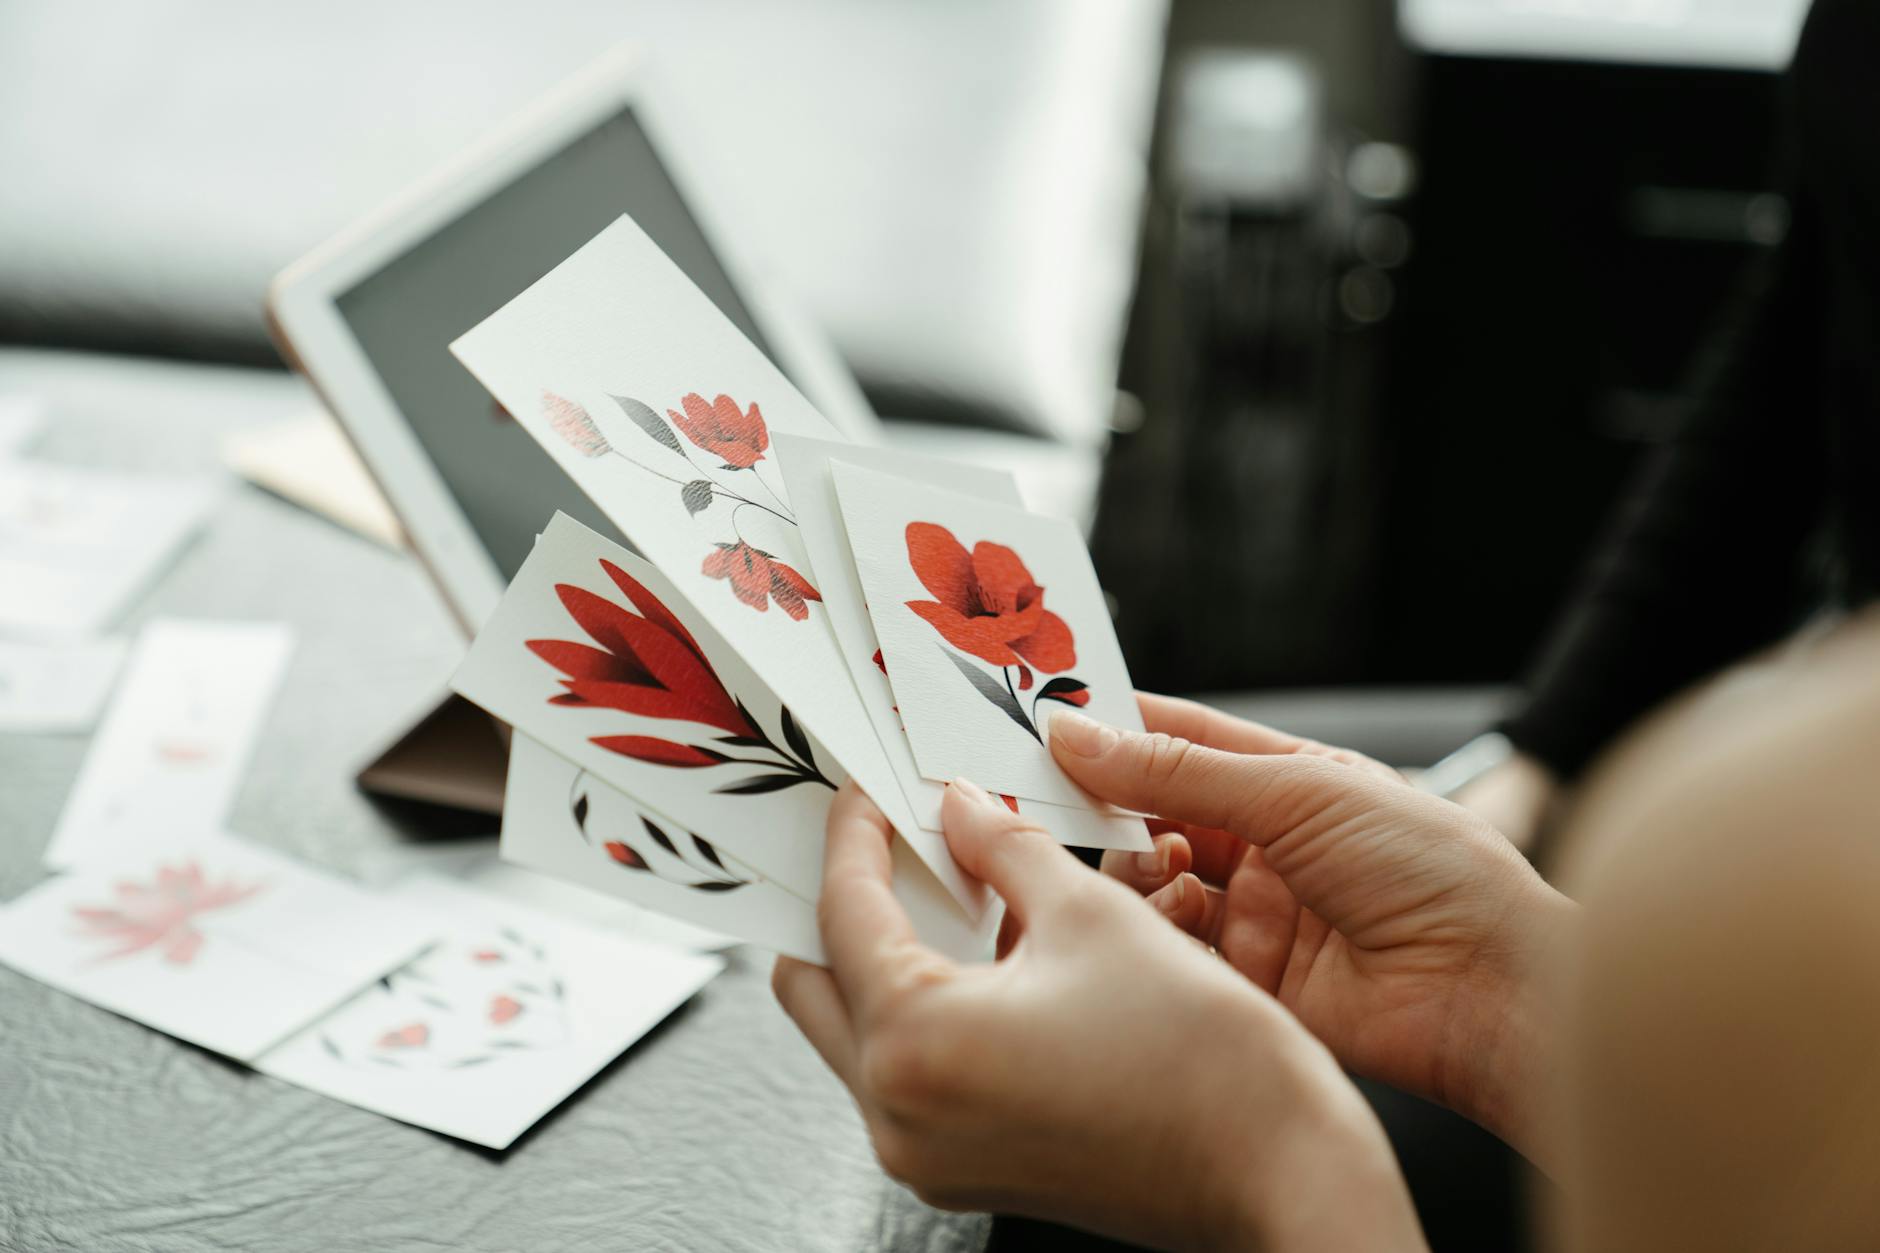
Decorative styling is done with your own hands or by inviting the specialist. The second option is justified in the case of a significant number of stickers that must be placed over a large area (street showcase of a large store, exhibition center). We will give some useful tips to those who decide to independently decorate their apartment, car, equipment or device with vinyl stickers.
Placing and removing vinyl decor
- If you place the decor on the surface of a car, phone, then it is usually even and smooth. Walls are a different story: they can have small overlaps and dents. The vinyl film is thin, so it will not tear, and will perfectly highlight all the irregularities. Prepare the area for future decoration with finishing materials, removing all defects.
- When the walls are decorated with paper wallpaper, plaster, you will not be able to place vinyl stickers for some time until you get bored of them. When they are removed, the textured drawing or all the finishing material under them will "come down". On a painted wall, the process will go much faster and more painless. You just have to lift one of the ends and pull towards you. If the connection is very tight, try to heat the surface of the illustration with a hairdryer to soften the adhesive. Traces often remain on the glass: they disappear after wiping with an alcohol solution.
- Bonding is best done on a degreased surface. When vinyl stickers are used on a car, a shop window, the work is carried out at an air temperature of + 10 to + 15˚С. Use 1-2 drops of dishwashing liquid to move the decor to the desired position.
- Wallpaper with torn off pieces, wooden surfaces with peeled paint should first be brought into a good look, leveling in height or eliminating the defect of knocked-down corners using sanding and puttying.
- Moisten the glass or mirror surface a little ─ it will help to easily correct the uneven position of the vinyl sticker after gluing. Excess water will be removed during leveling with a squeegee.
- When the illustration consists of several parts, make markings on the surface, trim the picture with scissors to the object or plane being used. Remember that the sticker on the hood, windshield, rear, side part is placed from the outside. First, the backing is removed in parts, and after smoothing – the protective film.
- Attach the image to the surface, smoothing this place in parallel with a squeegee or a bonus plastic card. If an air bubble appears somewhere through an oversight, make a puncture with a needle and straighten this area. The folds are leveled by warming up the defective spot with foam and re-smoothing it with a squeegee.
- The sticker printing on vinyl is firm. It is allowed to wash the image with household products. Children's art, made with a felt-tip pen, is washed off with alcohol.
If you have any questions regarding our vinyl products, you can always contact AIVA Paper Group and get a free consultation.

